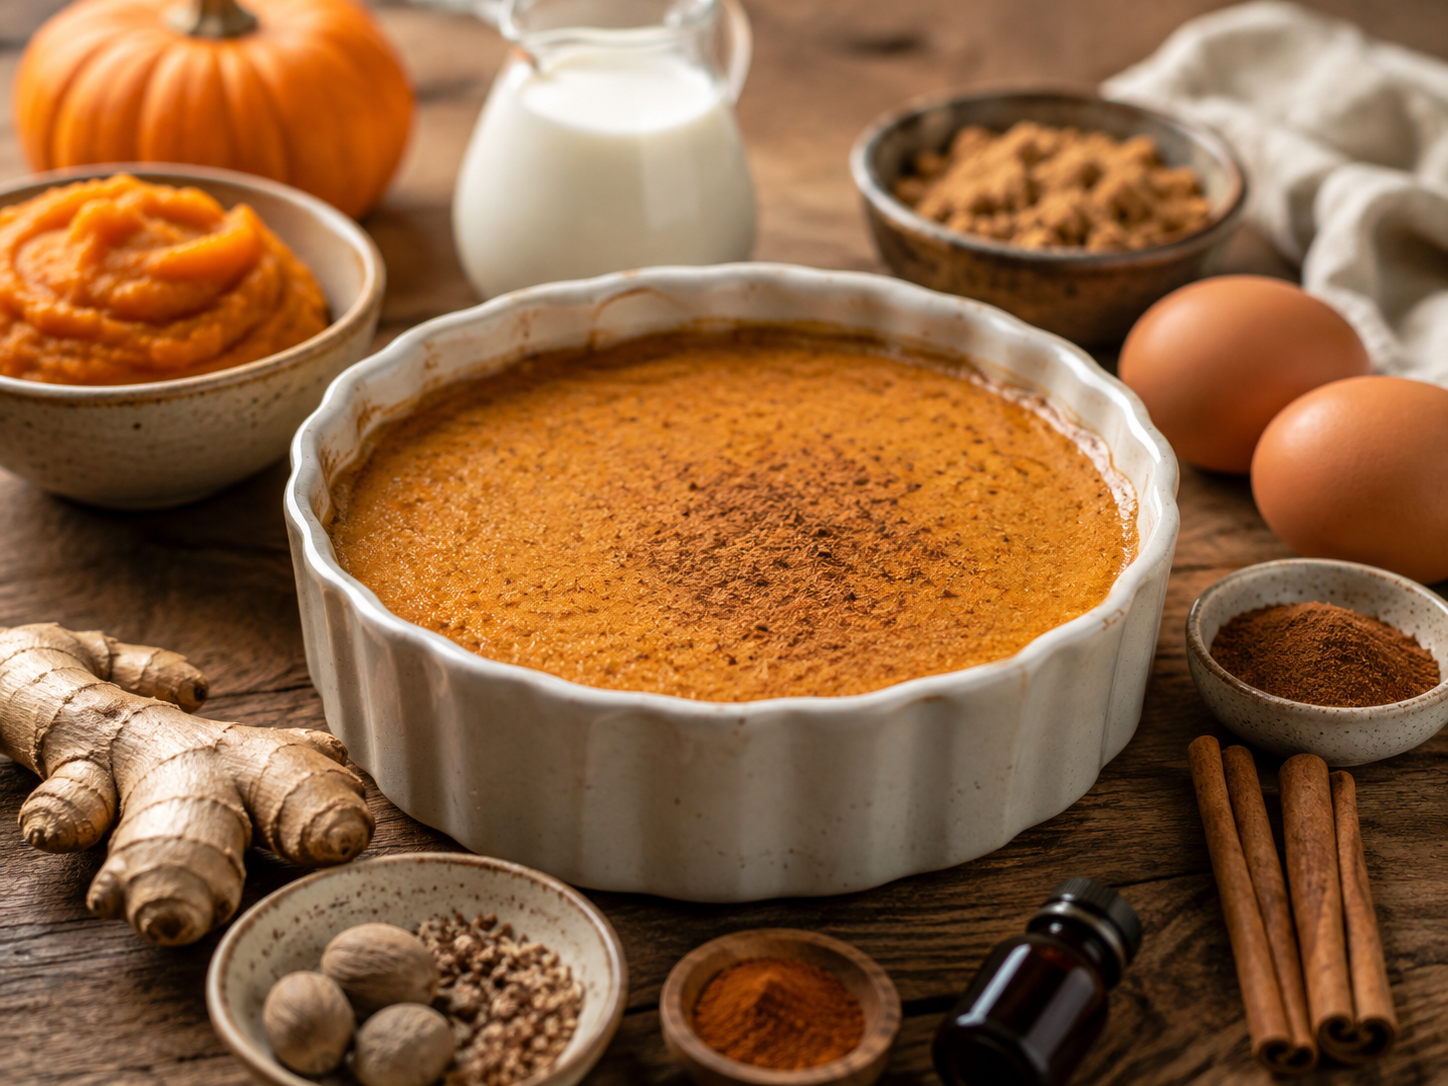
This pumpkin custard is smooth, warmly spiced, and simple enough to make without turning dessert into a whole production.
Pumpkin, brown sugar, vanilla, and classic spices give it the flavor of pumpkin pie filling, but without the crust. Best of all, it is loaded with protein. A tiny pinch of cayenne is optional, adding just enough warmth to deepen the spices, and to cause the most complimentary culinary comment of all: "hmmm, I taste something... what is that?"
Ingredients
• 1 cup pumpkin purée
• 3 large eggs
• 1 cup milk
• 1/3 cup packed brown sugar
• 1 teaspoon vanilla extract
• 1 teaspoon cinnamon
• 1/4 teaspoon ground ginger
• 1/4 teaspoon nutmeg
• Pinch of cloves
• Pinch of cayenne, optional
• 1/4 teaspoon salt
Instructions
• Lightly beat the eggs until the yolks and whites are combined, without whipping in a lot of air. Remove the chalaza (see tips below).
• Add the brown sugar and whisk until blended.
• Stir in the pumpkin purée, vanilla, cinnamon, ginger, nutmeg, cloves, cayenne if using, and salt.
• Gradually stir in the milk until the mixture is smooth.
• Pour the custard into a heat-safe dish that fits inside the Instant Pot and cover the top with foil.
• Add 1 cup water to the Instant Pot and place the dish on the trivet (see below for baking instructions).
• Cook on High Pressure for 7 minutes.
• Allow a 10-minute natural release, then release the remaining pressure.
• Remove the custard carefully. The center should still have a slight jiggle.
• Cool, then refrigerate until thoroughly chilled and fully set.
Optional Baking Instructions
• Preheat the oven to 325°F.
• Pour the prepared custard mixture into a ceramic baking dish or individual ramekins.
• Place the dish or ramekins inside a larger baking pan.
• Pour hot water into the outer pan until it comes about halfway up the sides of the custard dish. This gentle water bath keeps the eggs from cooking too aggressively.
• Bake until the edges are set but the center still has a slight jiggle when gently moved.
• For individual ramekins, begin checking at about 35 minutes. A larger single dish will probably take about 45 to 60 minutes, depending on its depth.
• Remove the custard from the water bath and let it cool.
• Refrigerate for several hours, preferably until completely chilled, before serving.
The important visual cue is that little center wobble. You don’t want to bake it until it looks completely rigid in the oven, because the residual heat keeps setting it afterward. That’s where custard can quietly cross the border from silky into scrambled-pumpkin territory.
Tips
• Remove the chalaza. That's the little opaque white, ropey strand attached to the yolk.
It helps hold the yolk centered inside the egg. In most cooking it disappears into the mixture, but in a very smooth custard it can absolutely show up as those little rubbery white bits if it doesn’t break down.
For custard, you have two easy options:
• Remove the chalaza before mixing with a spoon or fork.
• Or, even better, strain the finished custard mixture through a fine-mesh sieve before cooking. That catches chalaza bits and any stubborn egg-white strands and gives you a much silkier custard.
• If setting in an Instant Pot, place a paper towel between the foil or the cover of the pan. This helps absorb condensation that would otherwise settle on the top of the custard. Remove the cover immediately after releasing pressure; this allows any condensation that has settled to evaporate, avoiding a pool of water sitting on the top of the custard.